If you’re on the fence about using a grout paint pen for your project, let this be your sign to do it.
Over the summer of 2023 I tackled a much-needed facelift in our primary bathroom (aka, our only bathroom). Facelift is the key word here. While this bathroom really needs a full down-to-the-studs renovation, that’s not in the cards right now so I settled for a little primping. Among other things, painting the wall grout with a grout paint pen was one of the projects I tackled.
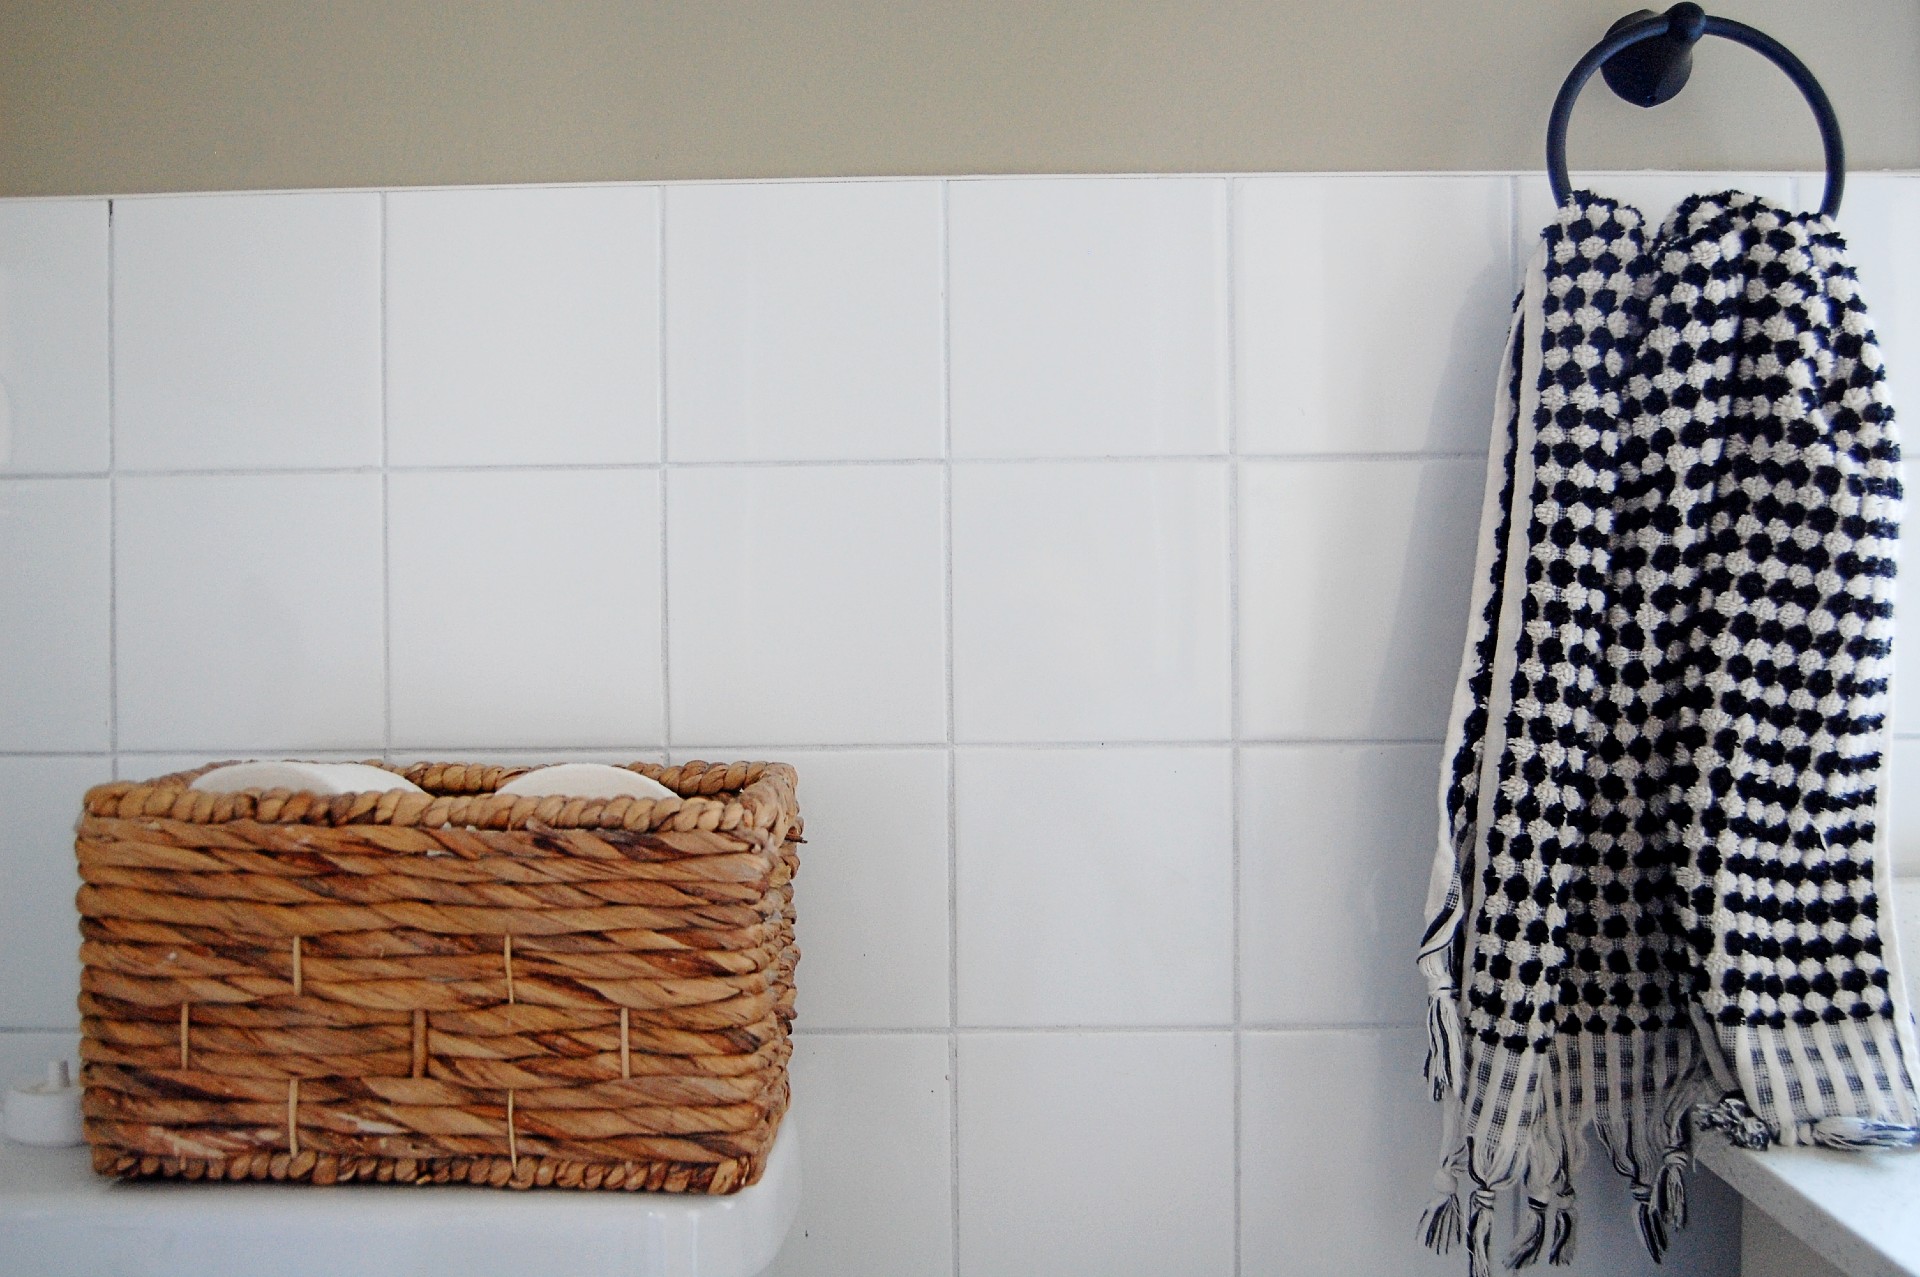
This was my first time using a grout paint pen and honestly, I had no idea what to expect. Let me set the stage for you. The walls of the bathroom have medium-sized square white tiles installed halfway up the wall, which extend into the bath/shower nook. The grout is dark gray. The floor however features large beige tiles, with coordinating beige grout. Can you tell this was a DIY job at some point? I simply couldn’t look at this clashing mess any longer. Painting the wall grout to match the tile seemed like the simplest way to make it look marginally better. So, I went for it.
RELATED: Simple DIY Aged Vase Hack with 3 Ingredients


The Process
Using a grout paint pen is about as simple as it sounds. All you need to do is give the pen a good shake, remove the cap, and start covering the grout. The pens I got had a push tip, so a small amount of pressure was required as I was painting to get the product flowing. Luckily, the grout I was working with was about the same width as the diameter of the pen tip, so I only needed to go over everything once.
In total, I used about three and a half grout paint pens to complete this project. Other than the task being tedious, I have no complaints about the product so far. It was smooth and simple to apply. Plus, it’s super affordable and easy to find (I ordered mine on Amazon).


The Final Result
I was super impressed with the final result once I was done. I even got a begrudging “wow, that actually looks good” from my husband, who was skeptical of the product from the get-go. Besides painting the grout, I also repainted the walls (along with a LOT of patching to try and make them smoother), and updated the decor. That’s about it – although the transformation is day and night!
While I was happy with how it looked, I was a bit apprehensive to see how it held up over time. It is paint, after all. Today, it’s been over a year since I first applied the grout paint pen and I can definitively say that it has held up well. In fact, it looks pretty much the same as the day I did it.

There are a few important things to note here. First, the grout that I painted is on the walls, not the floor—meaning it is not exposed to much daily wear and tear. It’s also not coming into direct contact with water (I did NOT use the paint on the wall grout in the shower). I can only imagine these factors are helping to preserve its pristine appearance, but this is just a guess.
The final verdict? If you’re looking to give your grout an affordable facelift, I’d definitely recommend giving grout paint pens a try.
Here are the ones I used:


READ NEXT: Hallway Transformation with IKEA Shoe Cabinet Hack